When it comes to web hosting AWS is most trusted brand. Amazon web services provides its EC2 service under free-tier plan for 1 year which includes 750 running free hours of EC2 instance. If you are a beginner, it may be little hard for you to start with EC2. EC2 stands for elastic computing cloud which is basically web hosting service of AWS.
Table of Contents
AWS Account Setup: Basic Setup
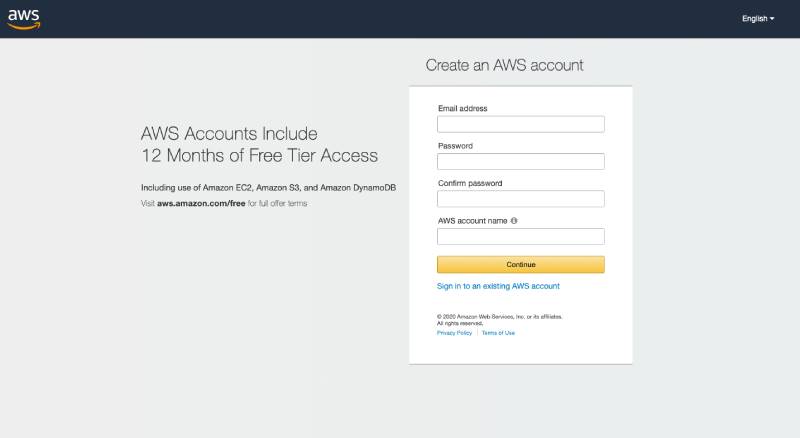
To start with AWS, first you need to set up AWS Console Account. It is very easy to create an account with AWS, you just need an email account [email protected]. Double verify your email address you are using to create AWS account, it will be used to access your account on AWS.

In the next step, you will asked to choose the type of Account either personal or professional (Both types of account have access to same features). If you are beginner or freelancer, we recommend you to choose the Personal Account else choose professional if you are associated with any organisation.
In second step, enter your organisation or personal information. Now, you need accept the AWS Customer Agreement. Once accepted, click Create Account and Continue
Now, after clicking create account, you will receive an account confirmation email from amazon. In order to use Amazon Web Services. you need to activate your account.
AWS Account Setup: Add a payment method
On the Payment Information page, enter all the details asked for the payment method.
(i) Verify all the payment details, and click on secure submit.
(ii) AWS will charge a very negligible account to verify your payment method.
(iii) Once you secure submit, it will redirect you to the payment screen and OTP will be send to your RMN (Registered Mobile Number). Complete the step to add your payment method.
Verify your phone number
(i) Pick whether you need to check your account by Text message (SMS) or a Voice call.
(ii) Pick your nation or locale code from the dropdown.
(iii) Enter a telephone number which is accessible.
(iv) Enter the code showed in the captcha.
(v) At the point when you’re prepared, click Contact me. In no time flat, an automated framework will get in touch with you.
Note: If you decided to check your account by SMS, choose Send SMS.
(vi) Enter the Digital PIN you get by instant message or voice call, and afterward click Continue.
Pick an AWS Support plan
On the Select a Support Plan page, pick one of the accessible Support plans. For a depiction of the accessible Support plans and their advantages, see Compare AWS Support Plans.
Wait for account activation
After you pick a Support plan, a confirmation page shows that your account is being activated. Accounts are generally activated within a couple of moments, yet the procedure may take as long as 24 hours.
You can log in to your AWS account during this period. The AWS landing page may display a button that shows “Complete Sign Up” during this time, regardless of whether you’ve finished every one of the means in the sign-up process.
You will receive a confirmation email from Amazon, after your account is fully activated.


